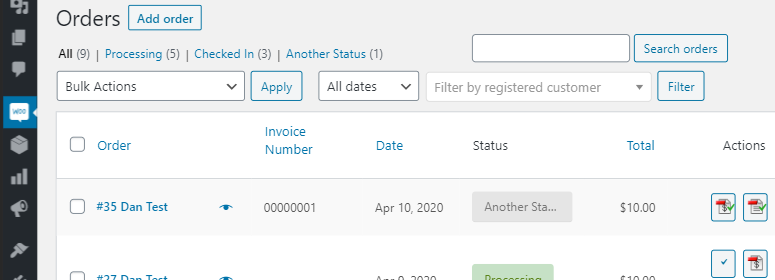
If you are using our Order Barcodes Plugin, a custom status is automatically added to woocommerce called “Checked In”. Some of our customers have asked for the ability to change that status to something else, or add a new status.
The steps below walk you through adding another custom status automatically to woocommerce, which is available for the order barcodes plugin. You can add it to the mobile checkin page, the scan form and also set the auto checkin feature to point to this new status. Please reach out with any questions or issues.
Step 1: Unzip
Unzip the plugin on your local machine.
Step 2: Add the custom order status to WooCommerce
In your favorite text editor or IDE (we prefer VS Code), open the plugindistrict-orderbarcodes.php file from the root folder.
	function orderbarcodes_register_custom_post_status() {
		register_post_status( 'wc-checked-in', array(
			'label'                     => _x( 'Check In', 'Order status', 'woocommerce' ),
			'public'                    => true,
			'exclude_from_search'       => false,
			'show_in_admin_all_list'    => true,
			'show_in_admin_status_list' => true,
			'label_count'               => _n_noop( 'Checked In <span class="count">(%s)</span>', 'Checked In <span class="count">(%s)</span>', 'woocommerce' )
		) );
		register_post_status( 'wc-another-status', array(
			'label'                     => _x( 'Another Status', 'Order status', 'woocommerce' ),
			'public'                    => true,
			'exclude_from_search'       => false,
			'show_in_admin_all_list'    => true,
			'show_in_admin_status_list' => true,
			'label_count'               => _n_noop( 'Another Status <span class="count">(%s)</span>', 'Another Status <span class="count">(%s)</span>', 'woocommerce' )
		) );
	}
function custom_wc_order_statuses( $order_statuses ) {
// add new order status after processing
foreach ( $order_statuses as $key => $status ) {
$new_order_statuses[ $key ] = $status;
if ( 'wc-processing' === $key ) {
$new_order_statuses['wc-checked-in'] = __('Checked In');
$new_order_statuses['wc-another-status'] = __('Another Status');
}
}
return $new_order_statuses;
}case "another-status":
if ($order->status == 'another-status')
{
echo "<div class=\"error\">Order $orderid is already another status. No action taken.</div>";
}
else
{
$order->add_order_note( __('Order status changed to another status via the Order Barcode plugin', 'woocommerce') );
$order->update_status( 'wc-another-status' );
echo "<div class=\"success\">Order $orderid was set to another status successfully!</div>";
}
break;<option value="another-status" '.(isset($_POST['orderaction']) && $_POST['orderaction'] == "another-status" ? "selected" : "").'>Another Status</option>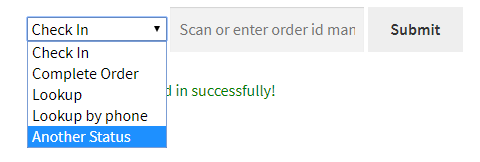
Step 3: Update the mobile checkin form (optional)
printf('<a href="%s" title="Another Status" class="button" style="background:rgb(215, 55, 7);">Another Status</a>', $url.'?orderid='.$orderid.'&action=another-status');
// make sure to set a color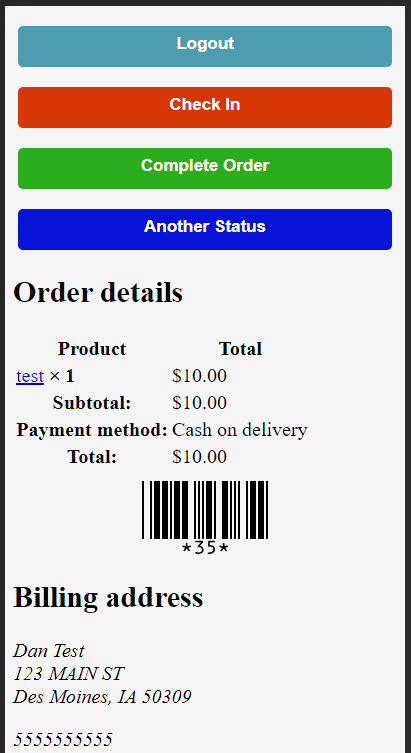
Step 4: Save any file changes and ZIP
After saving any changes, right click on the top level plugin folder and ZIP it up.
Step 5: Upload and Activate the updated plugin ZIP file